Week 17 - Laser Cut Rubber Stamps
Today we are making rubber stamps with the laser cutter. Stamps have been essential in the spread of information throughout history. The printing press allowed for the mass production of literature, and this was the stepping stone for our modern day of easily accessible information.
Read ALL directions CAREFULLY before starting.
We will start with creating a design. You can either make your design digitally or on paper.
Paper Design -
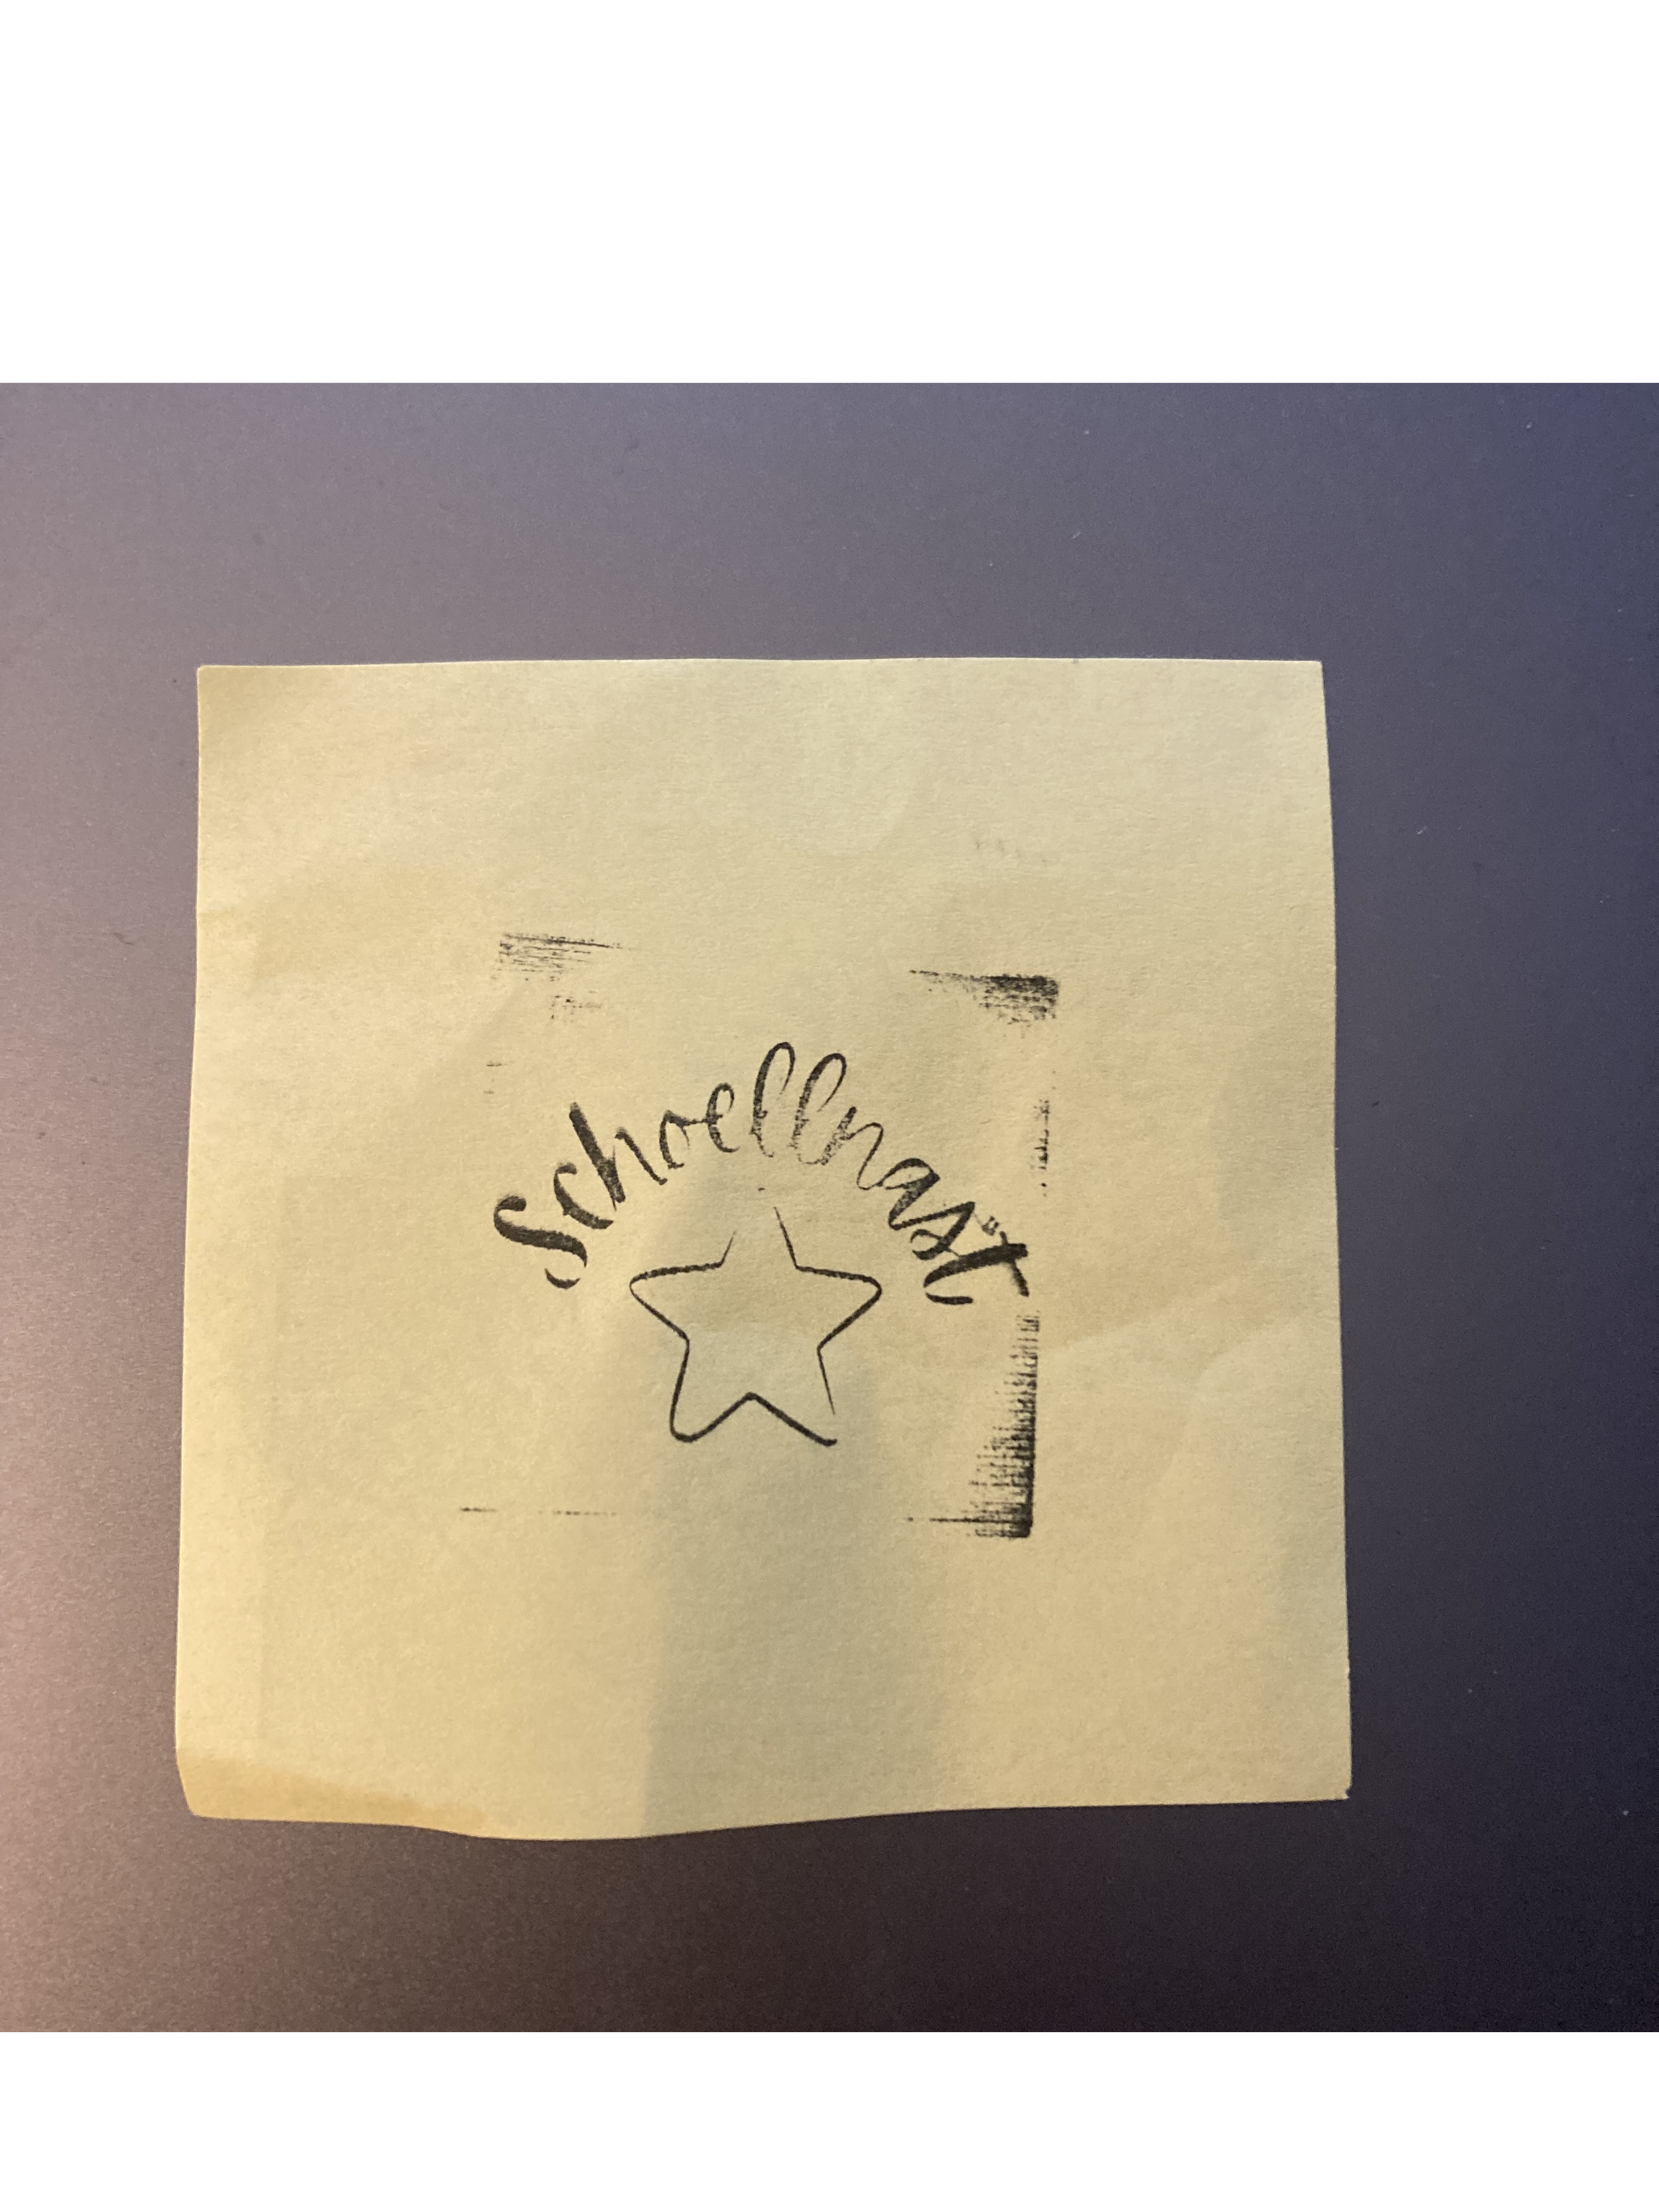
Start with a sketch of your idea in pencil. Write lightly before going over with a black pen.
Make sure your lines are thick, bold, and neat.
Erase any pencil marks as best you can (if you can still see the pencil marks, start again with just pen on a new piece of paper)
Take a picture of you design, make sure it is in focus and there are no shadows.s
Send your picture to the computer and upload it to Lightburn
Drag your picture into Lightburn and right-click the image.
Click the trace option and then delete the original image.
Ungroup and delete any unnecessary lines before scaling your image.
Now move on to Getting Ready to Laser Cut.
Digital Design -
Hop onto your preferred design software (I like Canva)
Create a black and white design before taking a screenshot
Upload your screenshot to Lightburn
Drag your picture into Lightburn and right-click the image.
Click the trace option and then delete the original image.
Ungroup and delete any unnecessary lines before scaling your image.
Now move on to Getting Ready to Laser Cut.
Getting Ready to Laser Cut -
Measure your piece of rubber and create a slightly smaller square in Lightburn to go around your image
Make sure your design is completely in the box you just made
Turn on the laser cutter
Place your piece of rubber in the laser cutter and focus it
Frame your design to make sure it fits
MAKE SURE THE FAN IS COMPLETELY TURNED UP
If you have text: If you have any writing, you need to make sure your design is mirrored, do this by highlighting your design and clicking the mirror tool (Two triangles with a line vertically down the center). If you don’t, it will come out backwards.
Set Your Setting -
Make sure your lines are set to fill
Now double click the settings and make sure to set your settings exactly following the screenshot.
Make sure you keep the air assist on

Now that your rubber stamp is done, take it out of the laser cutter and brush it off with a paintbrush to remove the ash. After that, you can either make a backing out of wood or 3D print one.